Как сделать ювелирные украшения: Полное руководство для самостоятельного изготовления
Imagine the beautiful necklace you saw last week now on your dresser, made by you. DIY jewelry making turns simple items into special pieces that show your style. It’s not just about saving money; it’s about expressing yourself and finding happiness in every bead.
Starting your jewelry making journey might seem hard at first. We remember looking at lots of supplies and not knowing where to start. But, making jewelry is simple with a few basic tools and techniques. Our guide will help you from picking your first pliers to adding the final touches to your jewelry.
Whether you want to make delicate earrings or bold necklaces, we’ve got you covered. We’ll share our knowledge from hours of practice, mistakes, and successes. By the end, you’ll be able to make jewelry as good as store-bought pieces.
Основные выводы
- DIY jewelry making offers creative expression and potential income opportunities
- Basic tools like pliers, wire cutters, and crimp beads are essential for beginners
- Simple techniques like wire looping and jump ring closing form the foundation
- Starting projects include beaded bracelets, basic necklaces, and pendant designs
- Quality supplies from trusted sources ensure professional-looking results
- Practice and patience transform novice crafters into skilled jewelry makers
Getting Started with Jewelry Making
Starting jewelry making opens a world where we can show our style with handmade accessories. Making our own pieces lets us wear something unique. It also lets us enjoy a fun hobby. Whether it’s simple beaded designs or detailed wire work, we start by learning the basics.
Why We Love Making Our Own Jewelry
Jewelry making for beginners is more than just making pretty things. It’s a way to relax and create special gifts. Each piece we make tells our story and shows our unique taste.
Setting Up Your First Workspace
Хороший jewelry workspace makes crafting better. Here are the basics to start:
- A flat, stable surface with good lighting
- Small containers for organizing beads and findings
- A bead mat to prevent rolling
- Basic storage solutions like tackle boxes or drawer organizers
Budget-Friendly Tips for Beginners
Affordable jewelry making means smart shopping and buying tools as you go. Quality is more important than how many tools you have when you start.
| Starting Budget | What You Can Buy | Project Ideas |
|---|---|---|
| $25-$50 | Basic pliers, wire, seed beads | Simple earrings, beaded bracelets |
| $50-$100 | Complete tool set, variety of beads | Necklaces, wire-wrapped pendants |
| $100+ | Professional tools, quality materials | Advanced designs, metal stamping |
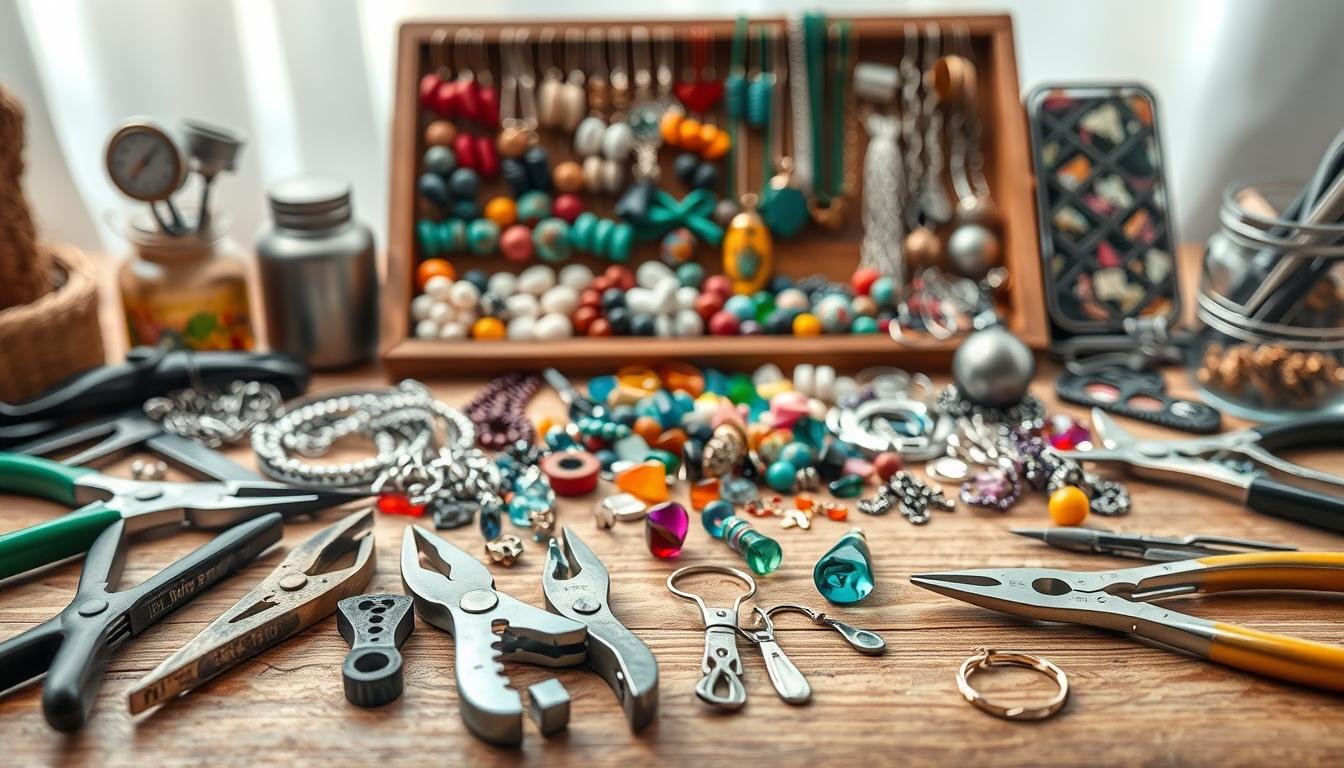
Essential Tools for DIY Jewelry
Starting your jewelry making journey needs the right tools. Quality tools make the difference between frustration and fun. Let’s look at the essential equipment every beginner needs to create beautiful pieces.
Must-Have Pliers and Cutters
The foundation of any jewelry tool kit starts with three types of pliers. Needle nose pliers help us grip small components and create precise bends. Round nose pliers are perfect for making loops and curves in wire. Bent nose pliers give us better angles when working in tight spaces.
Quality wire cutters are just as important. We recommend flush cutters that create clean, flat cuts on wire and head pins. Crimp bead pliers deserve special mention – these specialized tools create professional-looking crimps that secure beading wire to clasps.
Helpful Organization Tools
Smart jewelry organization saves time and prevents lost beads. We love using these storage solutions:
- Bead organizer boxes with adjustable compartments
- Design boards with flocked surfaces for necklace layouts
- Small zip-lock bags with labels for findings
- Drawer organizers for separating beading tools
Optional Tools That Make Life Easier
While not essential, these extras enhance our jewelry making experience. Curved tweezers pick up tiny seed beads effortlessly. Bead reamers widen holes in pearls or gemstones. Precision scissors cut thread cleanly, and binder clips hold multiple strands while we work.
Basic Jewelry Making Supplies and Findings
When we start making jewelry, knowing about jewelry findings is key. These small parts turn beads and materials into art we can wear. They help us connect and secure our creations.
Understanding Different Types of Clasps
Jewelry clasps come in many styles, each with its own use. *Lobster clasps* are great for necklaces and bracelets because they’re secure and easy to use. Toggle clasps add style and are good for those with dexterity issues. Spring ring clasps are perfect for thin chains, and magnetic clasps are handy for things you wear a lot.
Jump Rings, Head Pins, and Eye Pins
Jump rings connect our jewelry pieces. They link charms, chain parts, and clasps. Head pins have a flat end to keep beads in place, making simple drops and dangles. Eye pins have a loop for connecting beaded segments, creating complex designs.
Crimp Beads and Finishing Components
Crimp beads keep beading wire in place, unlike thread. We put them where needed and flatten them with pliers. Other finishing touches include:
- Earring hooks and posts for custom earrings
- Knot covers that hide thread ends beautifully
- Chain extenders for adjustable lengths
- Bead caps that frame focal beads elegantly
Choosing Your Materials and Beads
Choosing the right materials is key to making beautiful jewelry. The materials you pick affect the look and how long your jewelry lasts. Each material adds its own special touch to your designs.
For beginners, we suggest these beading supplies:
- Glass beads in various sizes and colors
- Plastic beads for lightweight designs
- Ceramic beads for earthy textures
- Polymer clay beads for unique patterns

Natural materials like gemstones and pearls make elegant pieces. Freshwater pearls are great for their shine and good price. Semi-precious gemstones like amethyst and rose quartz add color without costing too much.
Choosing the right stringing materials is important too. Jewelry wire comes in different sizes and types. We use 20-gauge wire for loops and 24-gauge for fine details. Beading wire with nylon coating is best for heavy beads. Clear elastic cord is great for simple stretch bracelets.
Don’t forget about jewelry chains and leather cord for pendants and layered looks. Mixing materials makes designs more interesting. Try combining metal chains with leather or threading pearls onto colored wire for cool looks.
Start with affordable materials to practice. Once you get better, use better gemstones and metal findings to make your jewelry stand out.
How to Make Jewelry: Basic Techniques
Learning basic jewelry making techniques opens up endless creative possibilities. We’ll guide you through the essential skills every jewelry maker needs to master. These techniques form the foundation for creating beautiful pieces that last.
Creating Perfect Loops with Wire
Wire loops connect beads and findings in most jewelry designs. To make a professional-looking loop, we bend the wire at a 90-degree angle about one centimeter from the top. Using round-nose pliers, we curl the wire until it forms an almost complete circle. Chain-nose pliers help us squeeze the loop closed for a secure finish.
Opening and Closing Jump Rings Properly
Сайт jump ring technique requires patience and the right approach. We grip each side of the ring with two pliers and twist one backward while pushing the other forward. This sideways motion prevents weakening the metal. Never pull jump rings apart outward—this damages their shape permanently.
Mastering the Crimp Bead Technique
Crimping beads secure clasps and finish stringing projects professionally. We thread the crimp bead onto the wire, add our clasp, then loop the wire back through the crimp. After threading through one or two adjacent beads, we use crimping pliers to flatten the bead, then fold it in half for maximum security.
Wire Wrapping Fundamentals
Wire wrapping basics allow us to incorporate undrilled stones and create decorative elements. This versatile technique combines beads with wrapped sections for unique designs. We start by creating anchor loops, then wrap wire around our chosen elements systematically. Practice makes these movements feel natural.
| Technique | Primary Tool | Common Uses |
|---|---|---|
| Wire Loops | Round-nose pliers | Connecting beads, creating dangles |
| Jump Ring Technique | Two flat-nose pliers | Attaching clasps, linking components |
| Crimping Beads | Crimping pliers | Securing clasps, finishing necklaces |
| Wire Wrapping Basics | Round and chain-nose pliers | Wrapping stones, decorative elements |
Simple Jewelry Projects for Beginners
Ready to make beautiful accessories? We picked three easy jewelry projects for you. Each one takes under an hour and needs just a few supplies. These projects teach basic skills and make stunning pieces you’ll love.
Making Your First Beaded Bracelet
Start with a beaded bracelet that fits any wrist. Measure your wrist and cut stretch cord 5 inches longer. Pull the cord gently for 30 seconds to pre-stretch it.
Secure one end with a binder clip to stop beads from falling off. Pick a pattern for your beads before stringing them. This saves time and helps you see the design.
String the beads, checking the fit on your wrist. When it looks right, tie a surgeon’s knot and add clear nail polish or glue. Tuck the knot inside a bead to hide it.

Creating a Basic Beaded Necklace
Our necklace guide shows you a classic design. Cut beading wire 4 inches longer than your necklace length. Thread a crimp bead, then a jump ring onto the wire.
Loop the wire back through the crimp bead and flatten it with pliers. Now, string your beads in any pattern you like. You can:
- Alternate colors for fun
- Use beads of different sizes
- Mix smooth and faceted beads
Finish with another crimp bead and jump ring. Add your clasp to finish this easy project.
Designing Chain Pendant Necklaces
A pendant necklace DIY lets you be creative. Choose a chain that matches your pendant’s style. Cut the chain half an inch shorter than your desired length.
Attach jump rings to both ends of the chain. Add your clasp components to these rings. Thread your pendant onto a jump ring and attach it to a chain link. You can place pendants at the center or try asymmetrical designs.
Advanced Techniques and Styles
Learning advanced jewelry techniques opens up new creative paths. These methods help us make unique pieces that show off our style and skill. Each technique adds its own special touch to our jewelry.
Exploring Macrame and Friendship Bracelets
Macrame jewelry mixes old knotting with new designs. We start with simple knots and move to more complex ones. Cotton cord or waxed thread works best for these projects.
Popular macrame patterns include:
- Spiral knot bracelets with adjustable sliding closures
- Geometric necklaces featuring micro-macrame techniques
- Boho-style earrings with fringe details
Working with Leather Materials
Leather jewelry making turns cheap scraps into cool accessories. We cut shapes with sharp scissors or rotary cutters. Thin leather is great for layered earrings, and thick leather is better for cuff bracelets.
Key leather techniques are punching holes, adding rivets, and braiding. Soft deerskin makes comfy wrap bracelets. Vegetable-tanned leather looks good with stamps and dyes.
Wire Wrapping Stones and Pendants
Wire wrapping stones needs patience and practice. We use 20-gauge wire for frames and 26-gauge for details. Beach stones, crystals, and tumbled gems are great for the center.
Begin with a basic cage wrap, then try more complex weaves and coils. These styles range from simple single-stone pendants to big multi-stone pieces.
Where to Buy Jewelry Making Supplies
Finding the right jewelry supply stores is key. Mixing local and online shopping gives us variety and good prices. This mix is perfect for our projects.
Local craft stores like Michaels, Joann, and Hobby Lobby are great for beginners. You can touch and feel materials before buying. This is helpful when learning about bead sizes and wire gauges. The staff can also give useful advice.

- Fire Mountain Gems – Huge selection with bulk prices
- Rio Grande – Top tools and metals
- Beadaholique – Tutorials with every buy
- Artbeads – Unique gemstones and designer items
Specialty online stores have unique materials. Etsy sellers have vintage beads you can’t find elsewhere. Amazon offers fast shipping for basic supplies like jump rings and clasps.
“Start small and build your collection gradually. You’ll develop preferences for certain suppliers as you discover your style.”
Before buying new stuff, check what you already have. Old jewelry can be broken down for parts. This saves money and boosts creativity. Shopping smart across different places makes it fun to build your stash.
Заключение
Creating handmade jewelry lets us explore endless creative paths. It can be a fun hobby or a business. This guide has shown us that success needs patience and practice.
We’ve learned important DIY tips like measuring bead holes before picking stringing materials. This saves time and avoids frustration. Using binder clips to hold beads in place makes our work easier and more fun.
Planning designs on bead boards or sketching them first makes our journey easier. We can give old pieces new life by reusing their parts. Layering necklaces or stacking bracelets creates unique looks that show our style.
This summary reminds us that trying new things helps us find our own style. The world of jewelry making is vast, beyond just beads and wire. We can use materials like seashells, vintage bottle caps, or wine corks in our designs.
Books from Kalmbach Publishing and Interweave Press offer great advice for specific interests. The most important thing is to keep our creativity alive while improving our skills with each project.
ЧАСТО ЗАДАВАЕМЫЕ ВОПРОСЫ
What are the most essential tools we need to start making jewelry?
You’ll need needle nose pliers, round nose pliers, wire cutters, and a ruler. Crimp bead pliers and super glue are also key. A jewelry making tool kit from Amazon is a great starter set.
How much money do we need to invest to start making jewelry?
You can start with -30 for basic tools and materials. Buy budget-friendly items from Michaels or Joann’s. As you get better, you can buy better tools and materials.
What’s the best first project for complete beginners?
Start with a simple beaded bracelet using stretch cord. It teaches you how to string beads. Measure your wrist, cut the cord, string beads, and finish with a double knot and super glue. Then, try making friendship bracelets and basic necklaces.
Where can we find unique beads and jewelry supplies?
Local stores and Amazon have basics. But for unique items, try small businesses. The Trim Buyer has colored beads, and Charm Supply has unique charms. Princess Bead Supply has faux pearls. Your DIY Supply has gemstone beads, and Jewelry & Findings has a wide selection.
How do we properly use crimp beads to secure our jewelry?
Crimping secures beading wire. Thread a crimp bead and clasp, then loop the wire back through. Use pliers to flatten the bead, then fold it for a finish. Practice with cheap materials before your final piece.
What’s the difference between head pins and eye pins?
Head pins have a decorative end for pendants or dangles. Eye pins have a loop for dangles or linking beads. We use both for different designs.
Can we make professional-looking jewelry without expensive materials?
Yes! We’ve made stunning pieces with affordable materials. Focus on technique and design. Use materials like glass beads and faux pearls for a professional look. Layering pieces can also look high-end.
How do we prevent our handmade jewelry from falling apart?
Durability comes from good technique. Double-check jump rings and use proper crimping. Secure knots with super glue. For stretch cord bracelets, pre-stretch the cord and hide knots. Learn wire wrapping and knotting from YouTube for lasting jewelry.